
Motivation
My typical keyboard at work is a cheap, wireless Logitech unit. I sometimes use a Microsoft Natural Ergonomic Keyboard 4000. I kept one at home and one at work! I’ve found that these are great and can be found for a resonable price.
However, the inclusion of a number pad on the right results in my right-handed mouse too far away if my spacebar is centered relative to my screen. This means I reach far with my right hand which causes severe shoulder pain after a few hours of work. My temporary solution: buy a left-handed mouse. It was difficult at first, and it’s still not as natural since I’m right-handed, but it did help. I realized that the best thing to do was to buy a keyboard.
The ErgoDox EZ was recommended to me by a friend. Another friend remarked, “Don’t believe the hype”. I didn’t wan to spend $350 to purchase one, so I looked into DIY opions.
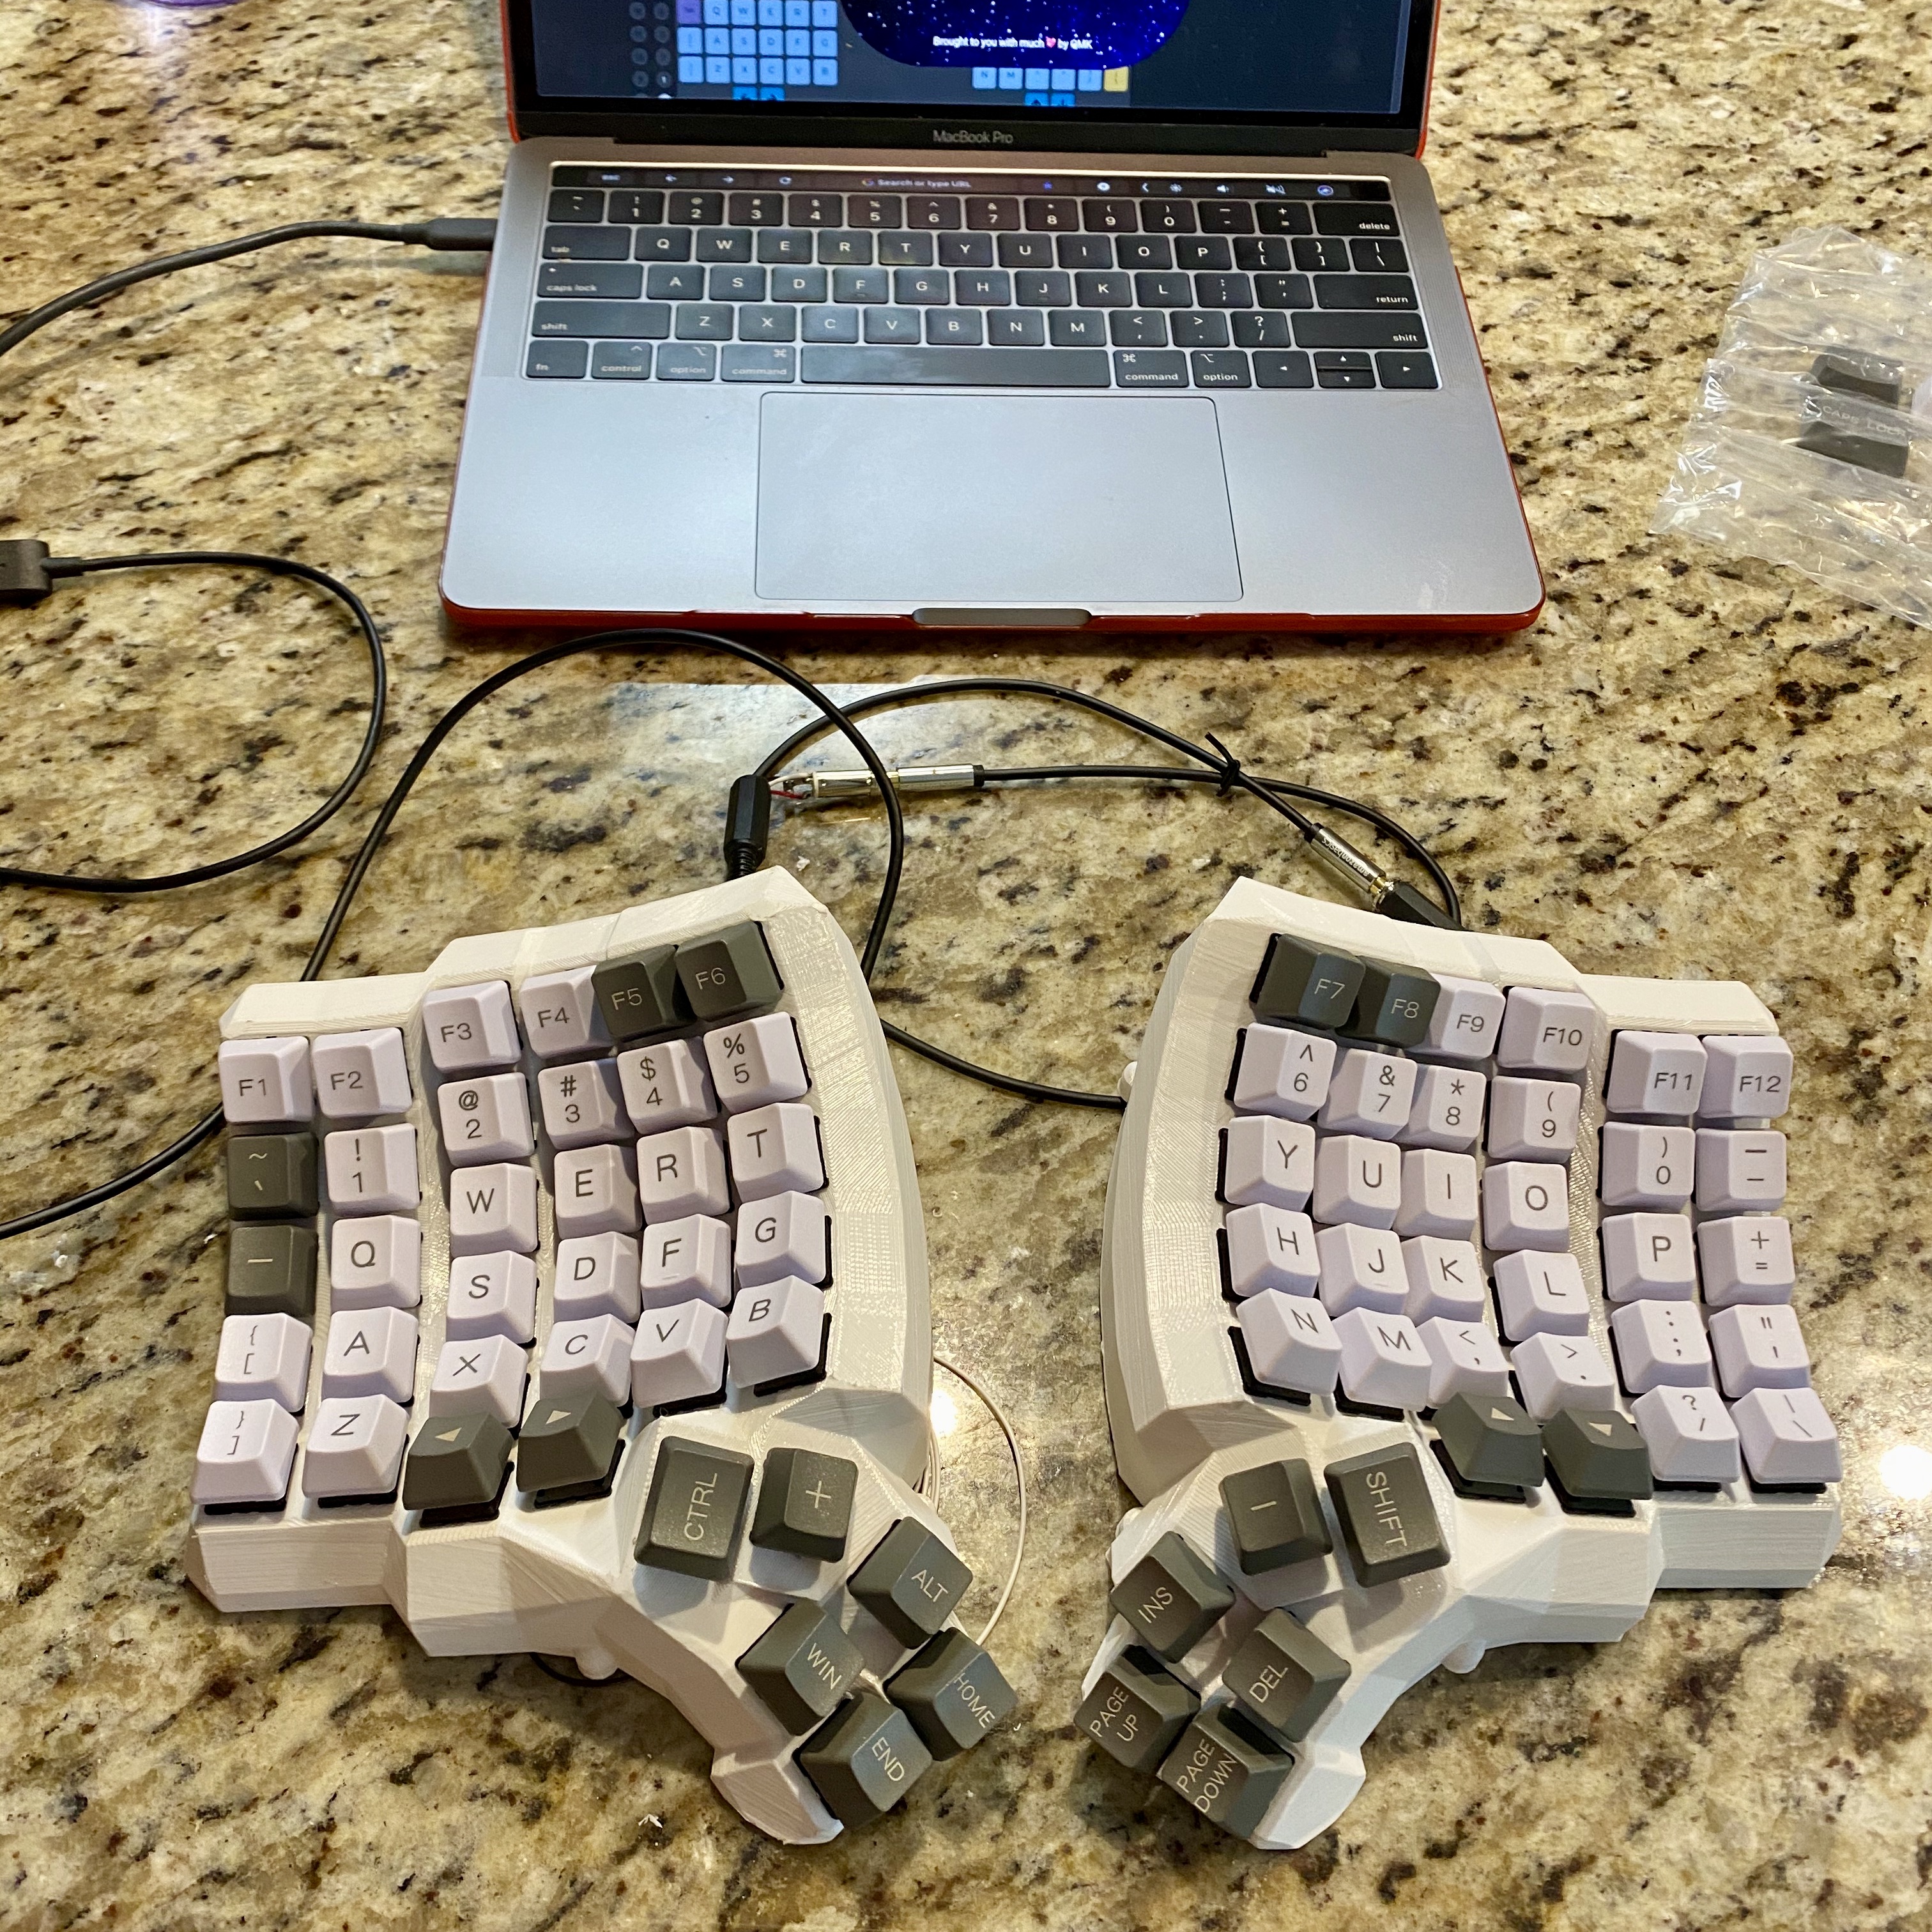
I found the Dactyl, and I originally intended to build one. Later, I saw a post on Reddit suggesting the Dactyl Manuform, which I decided to build instead because I preferred the dropped thumb cluster. I opted for the standard 6x6 option because I like having lots of keys at my disposal. That was definitely the correct decision.
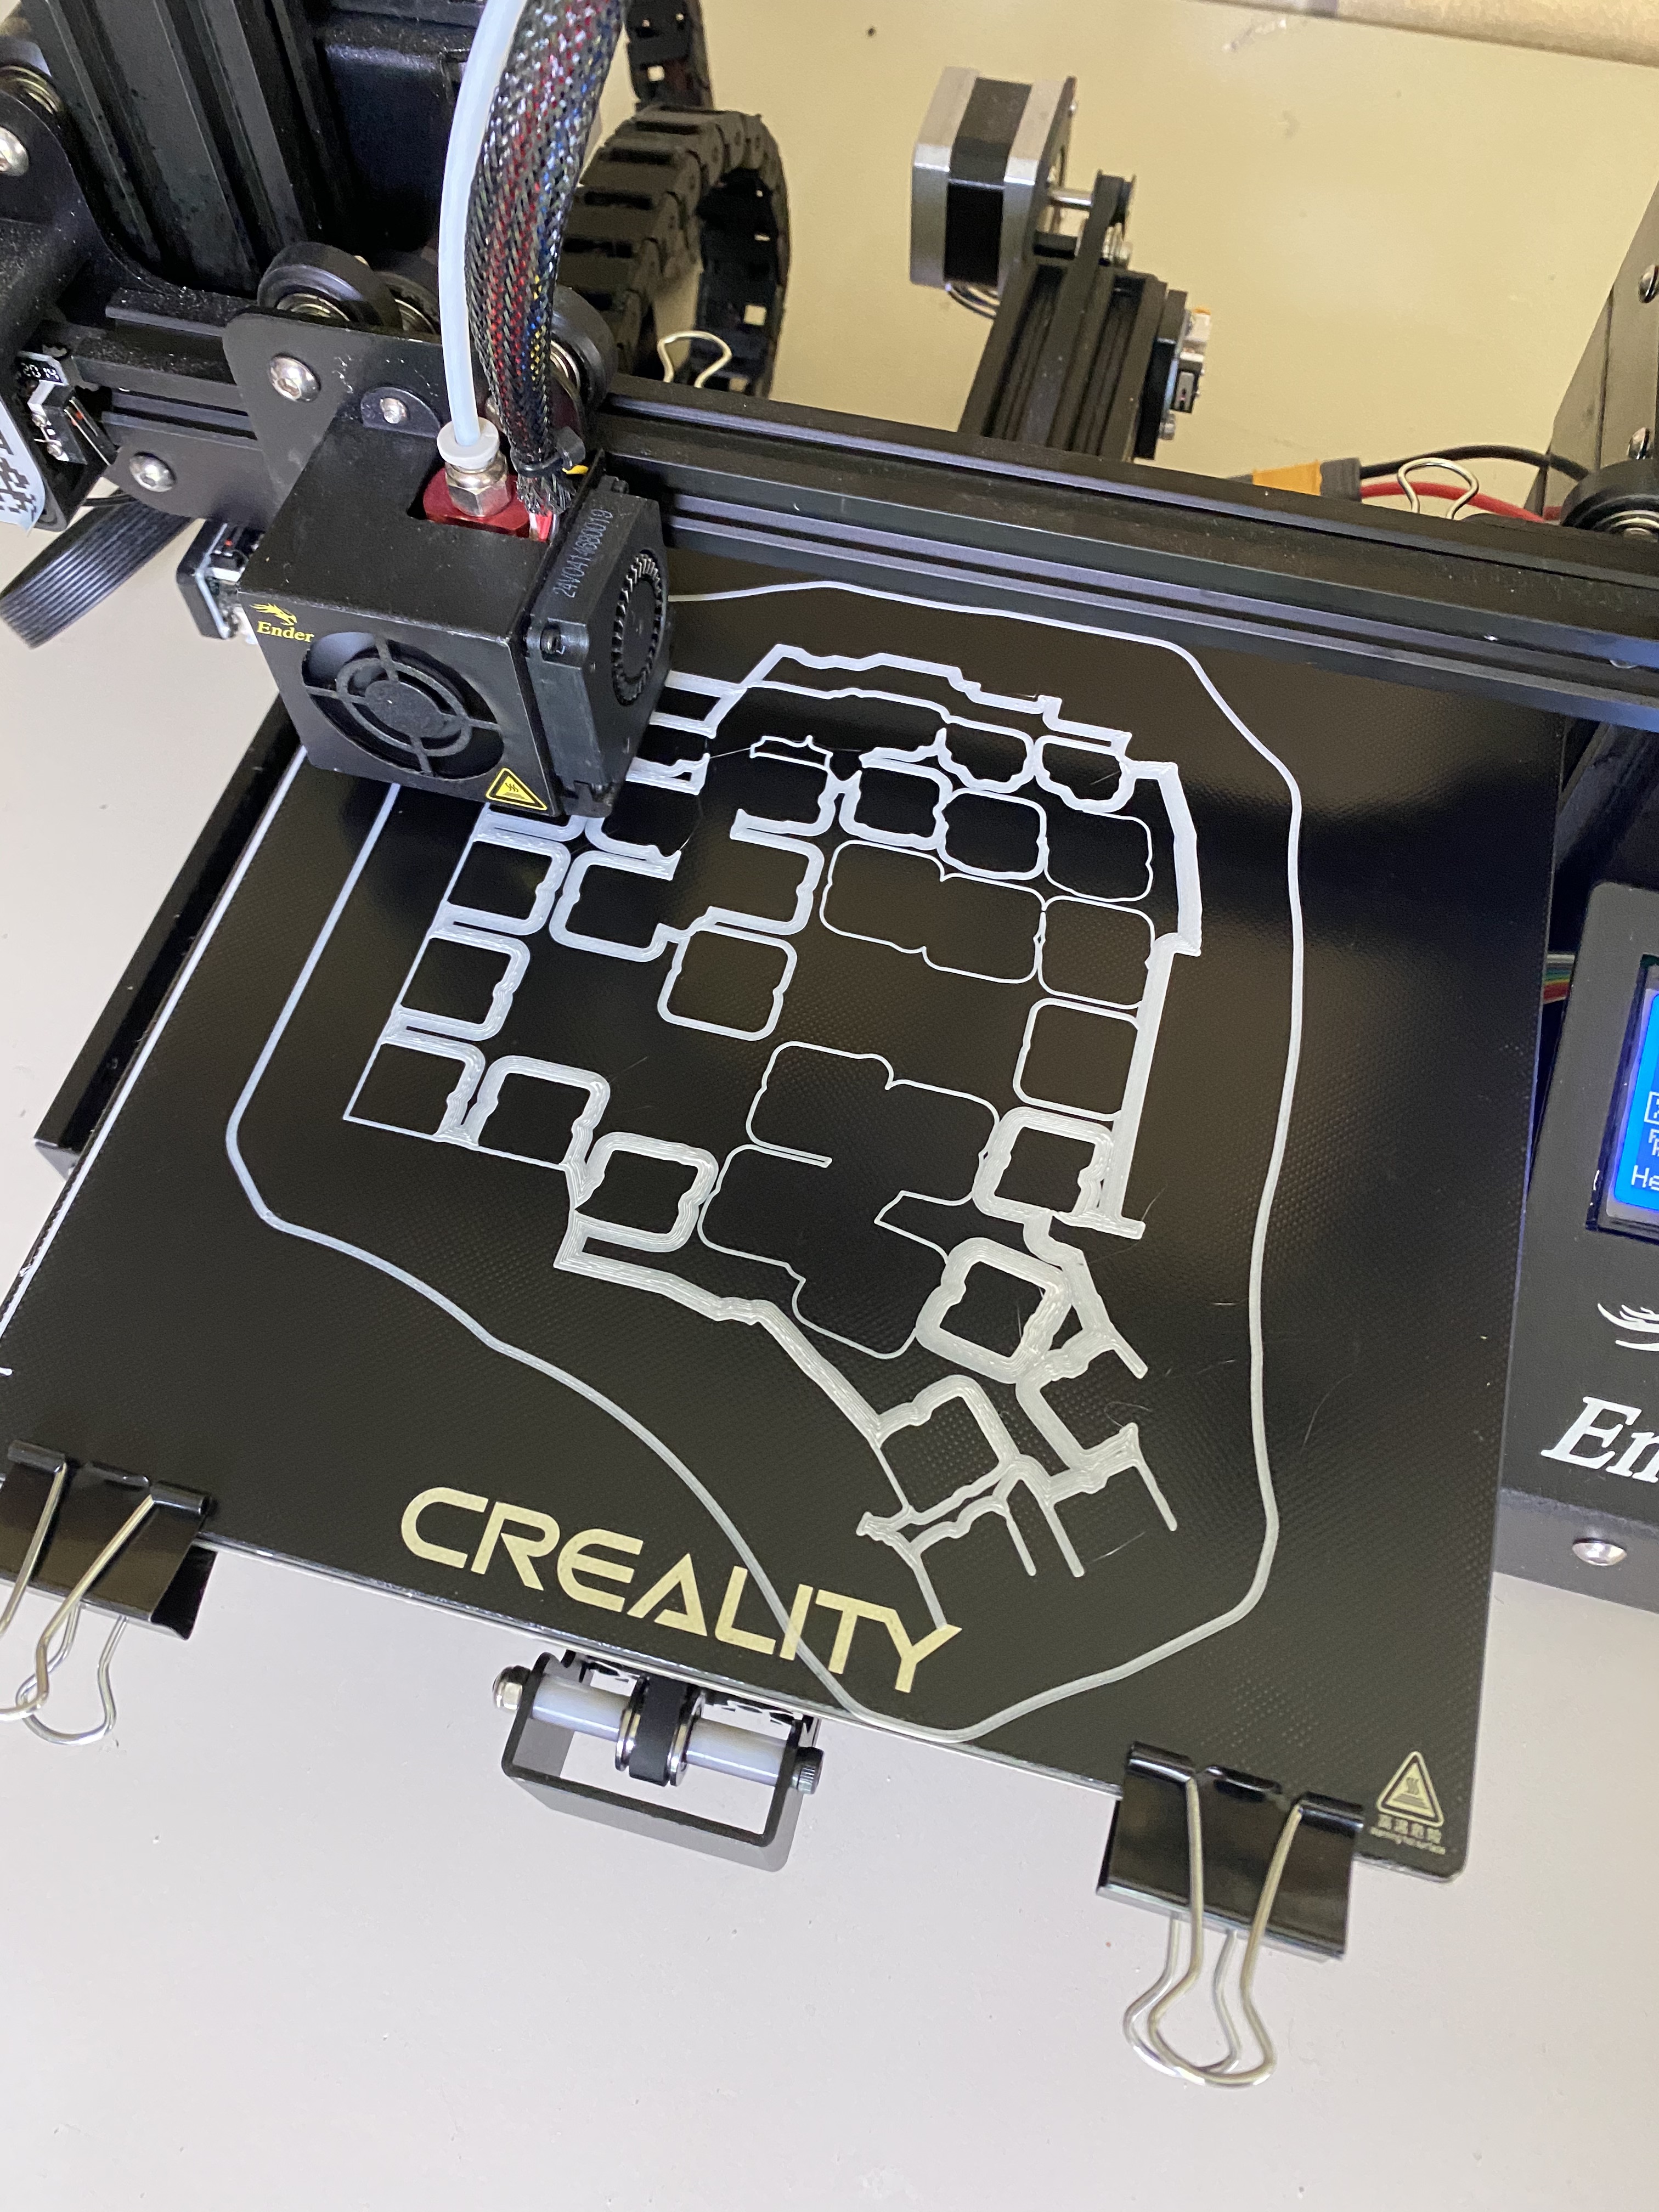
Printing
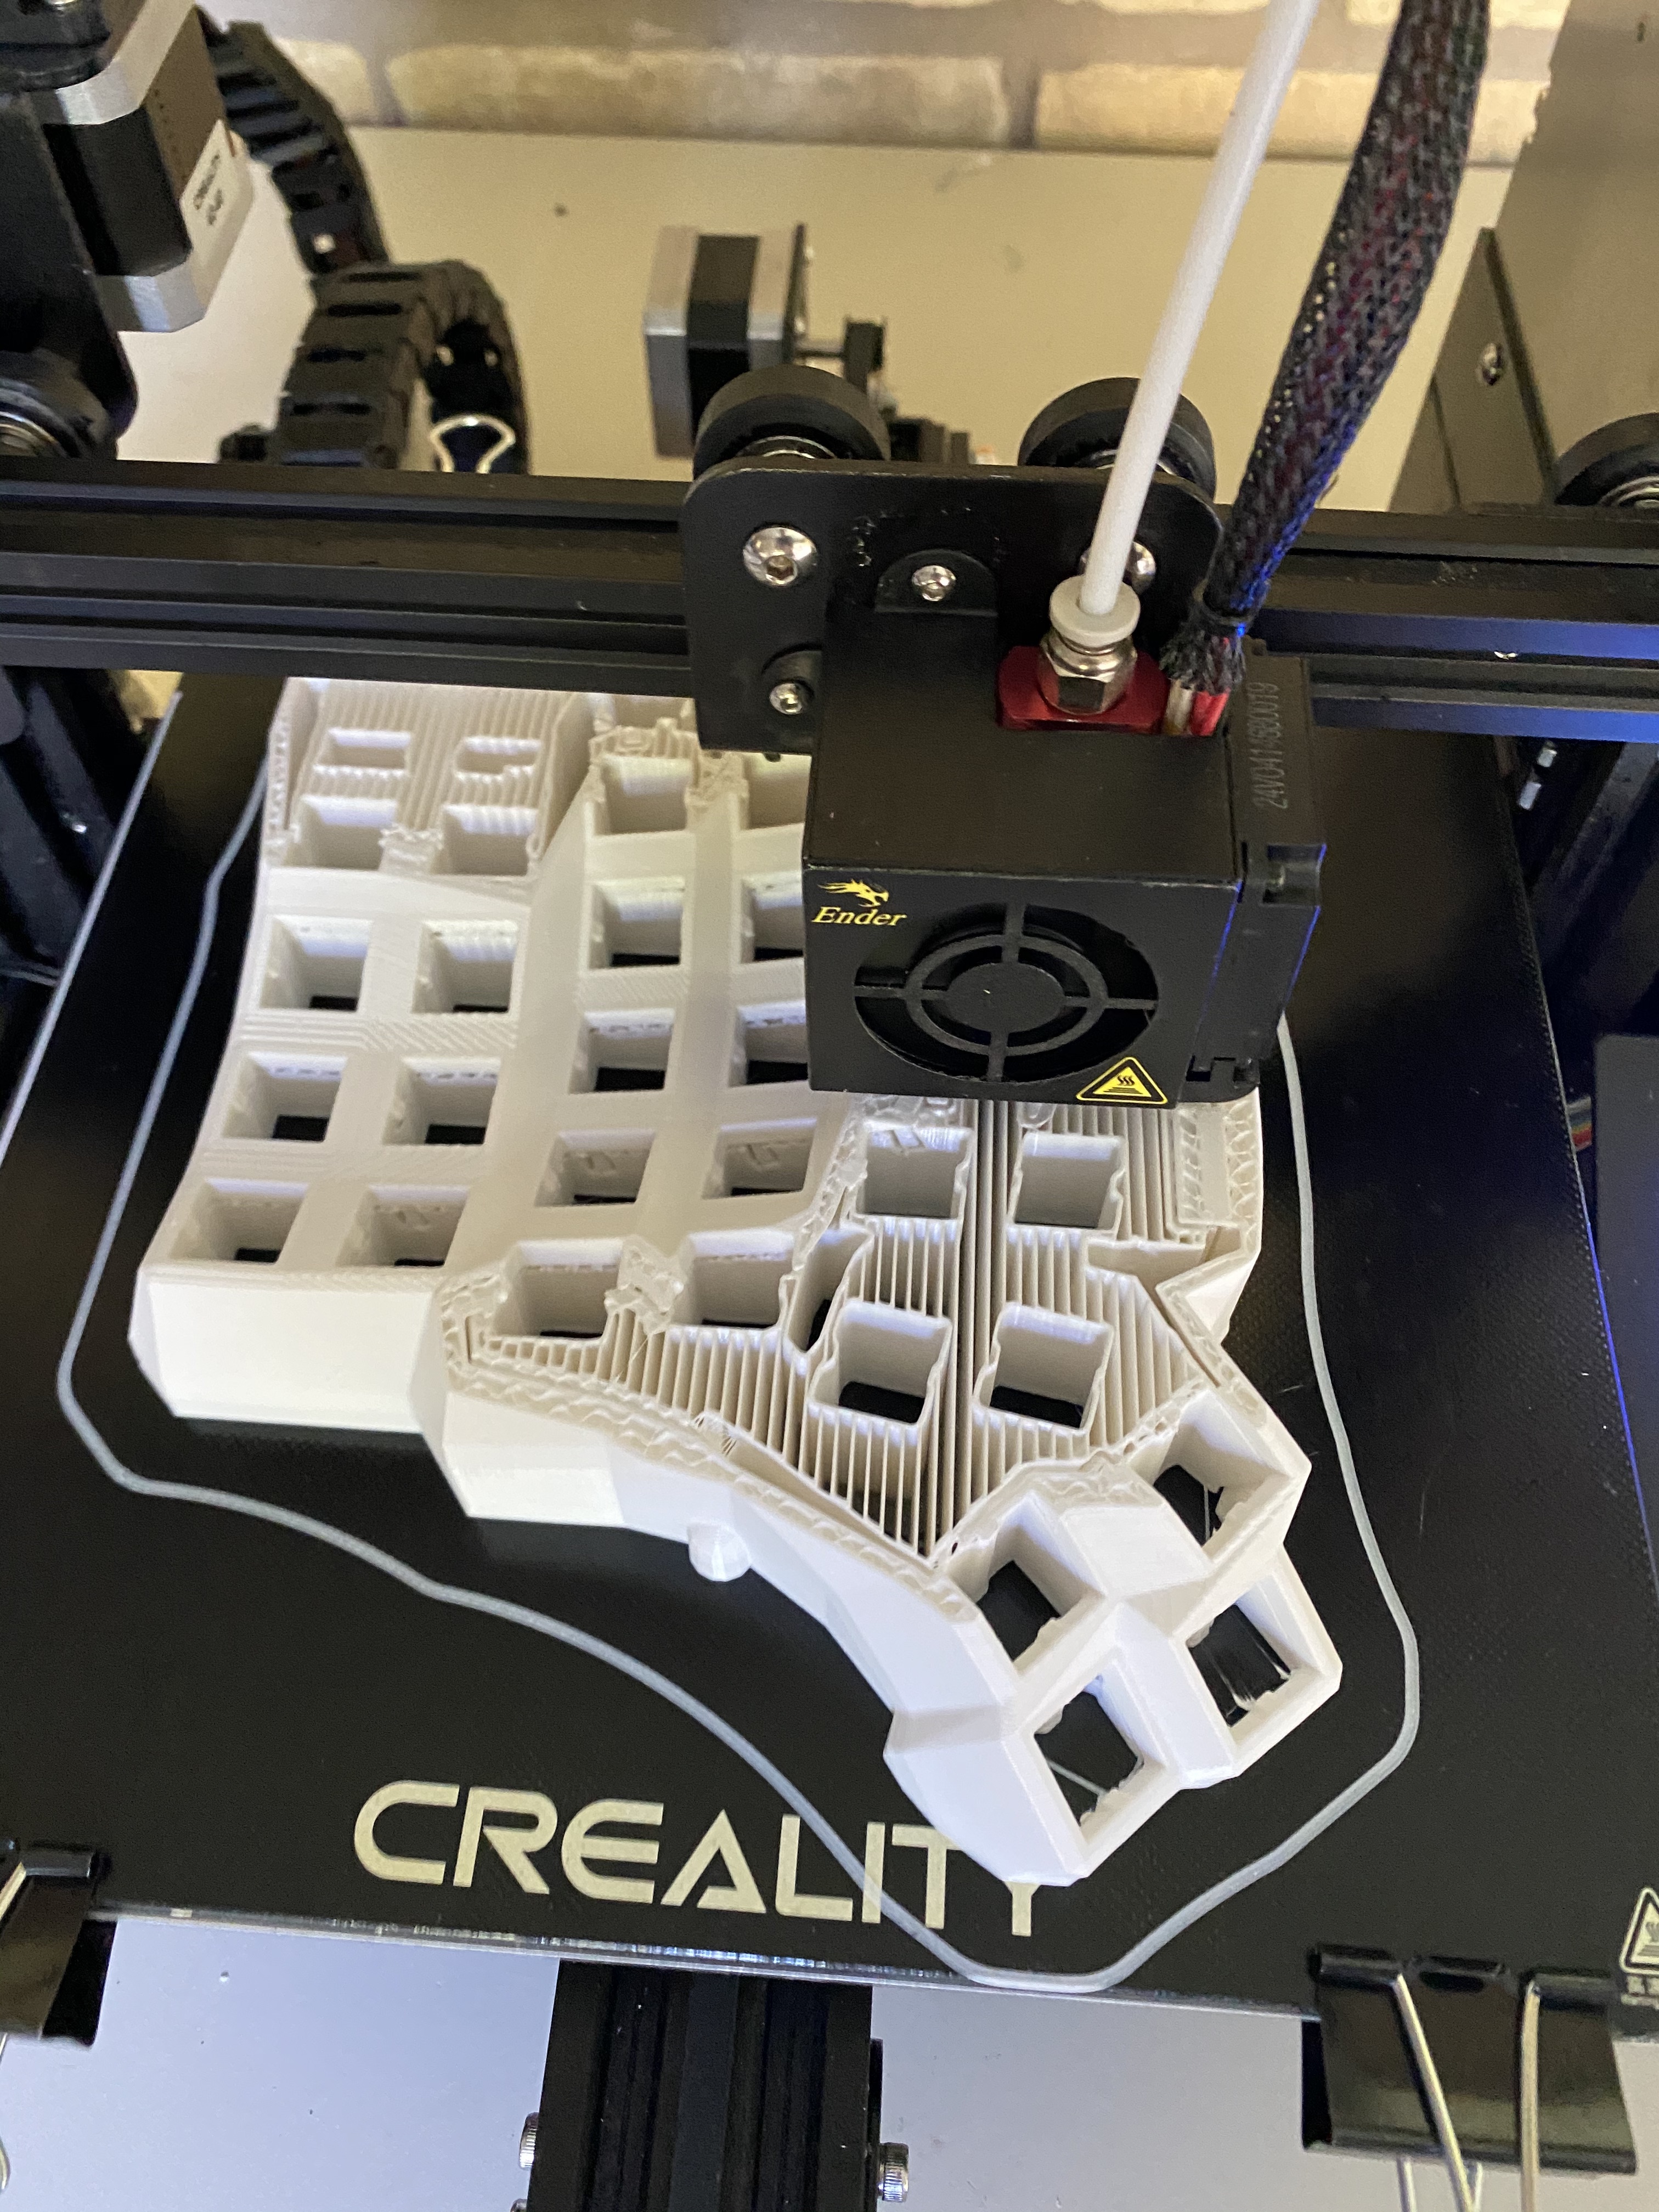
Printing the keyboard is not difficult if you print it with supports. Unfortunately, it is impossible to not damage the guides that hang down. They’re not noticeable in the rendering because they are small, and they really don’t serve much of a purpose, so it’s not the end of the world. It’s just frustrating.
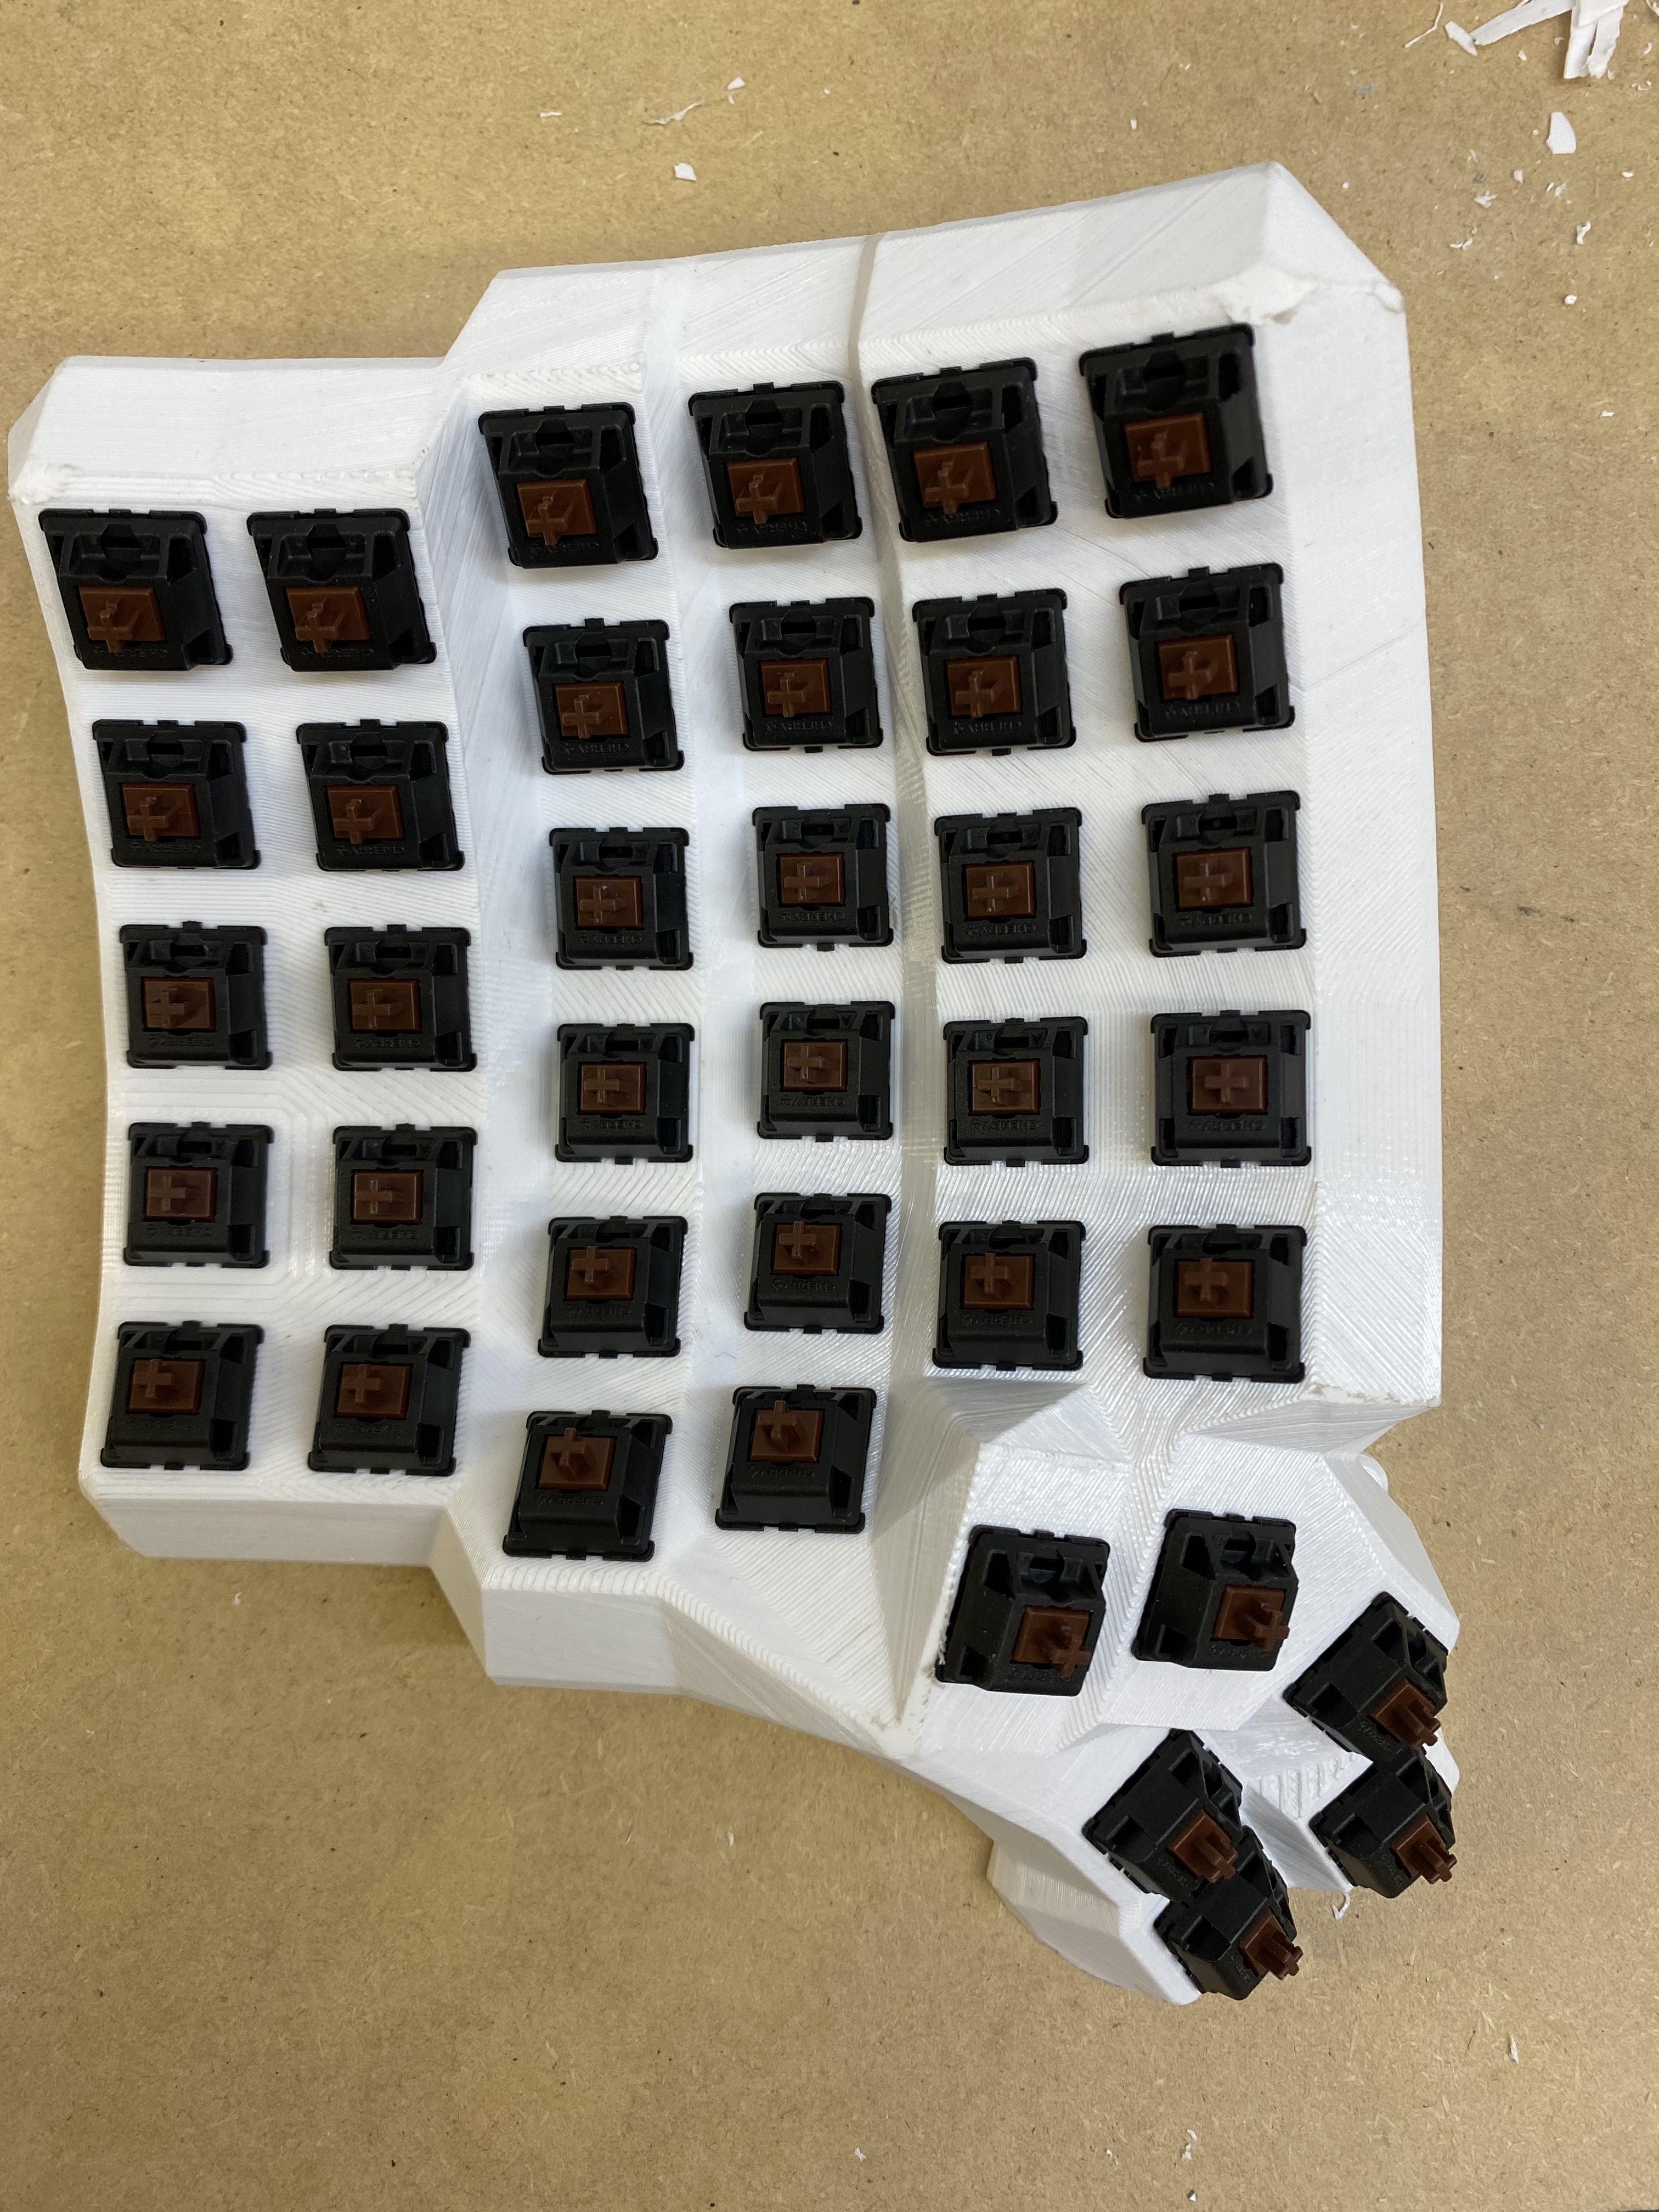
Fitting the keys in place is incredibly simple. They all dropped in and fit snugly as they were supposed to.
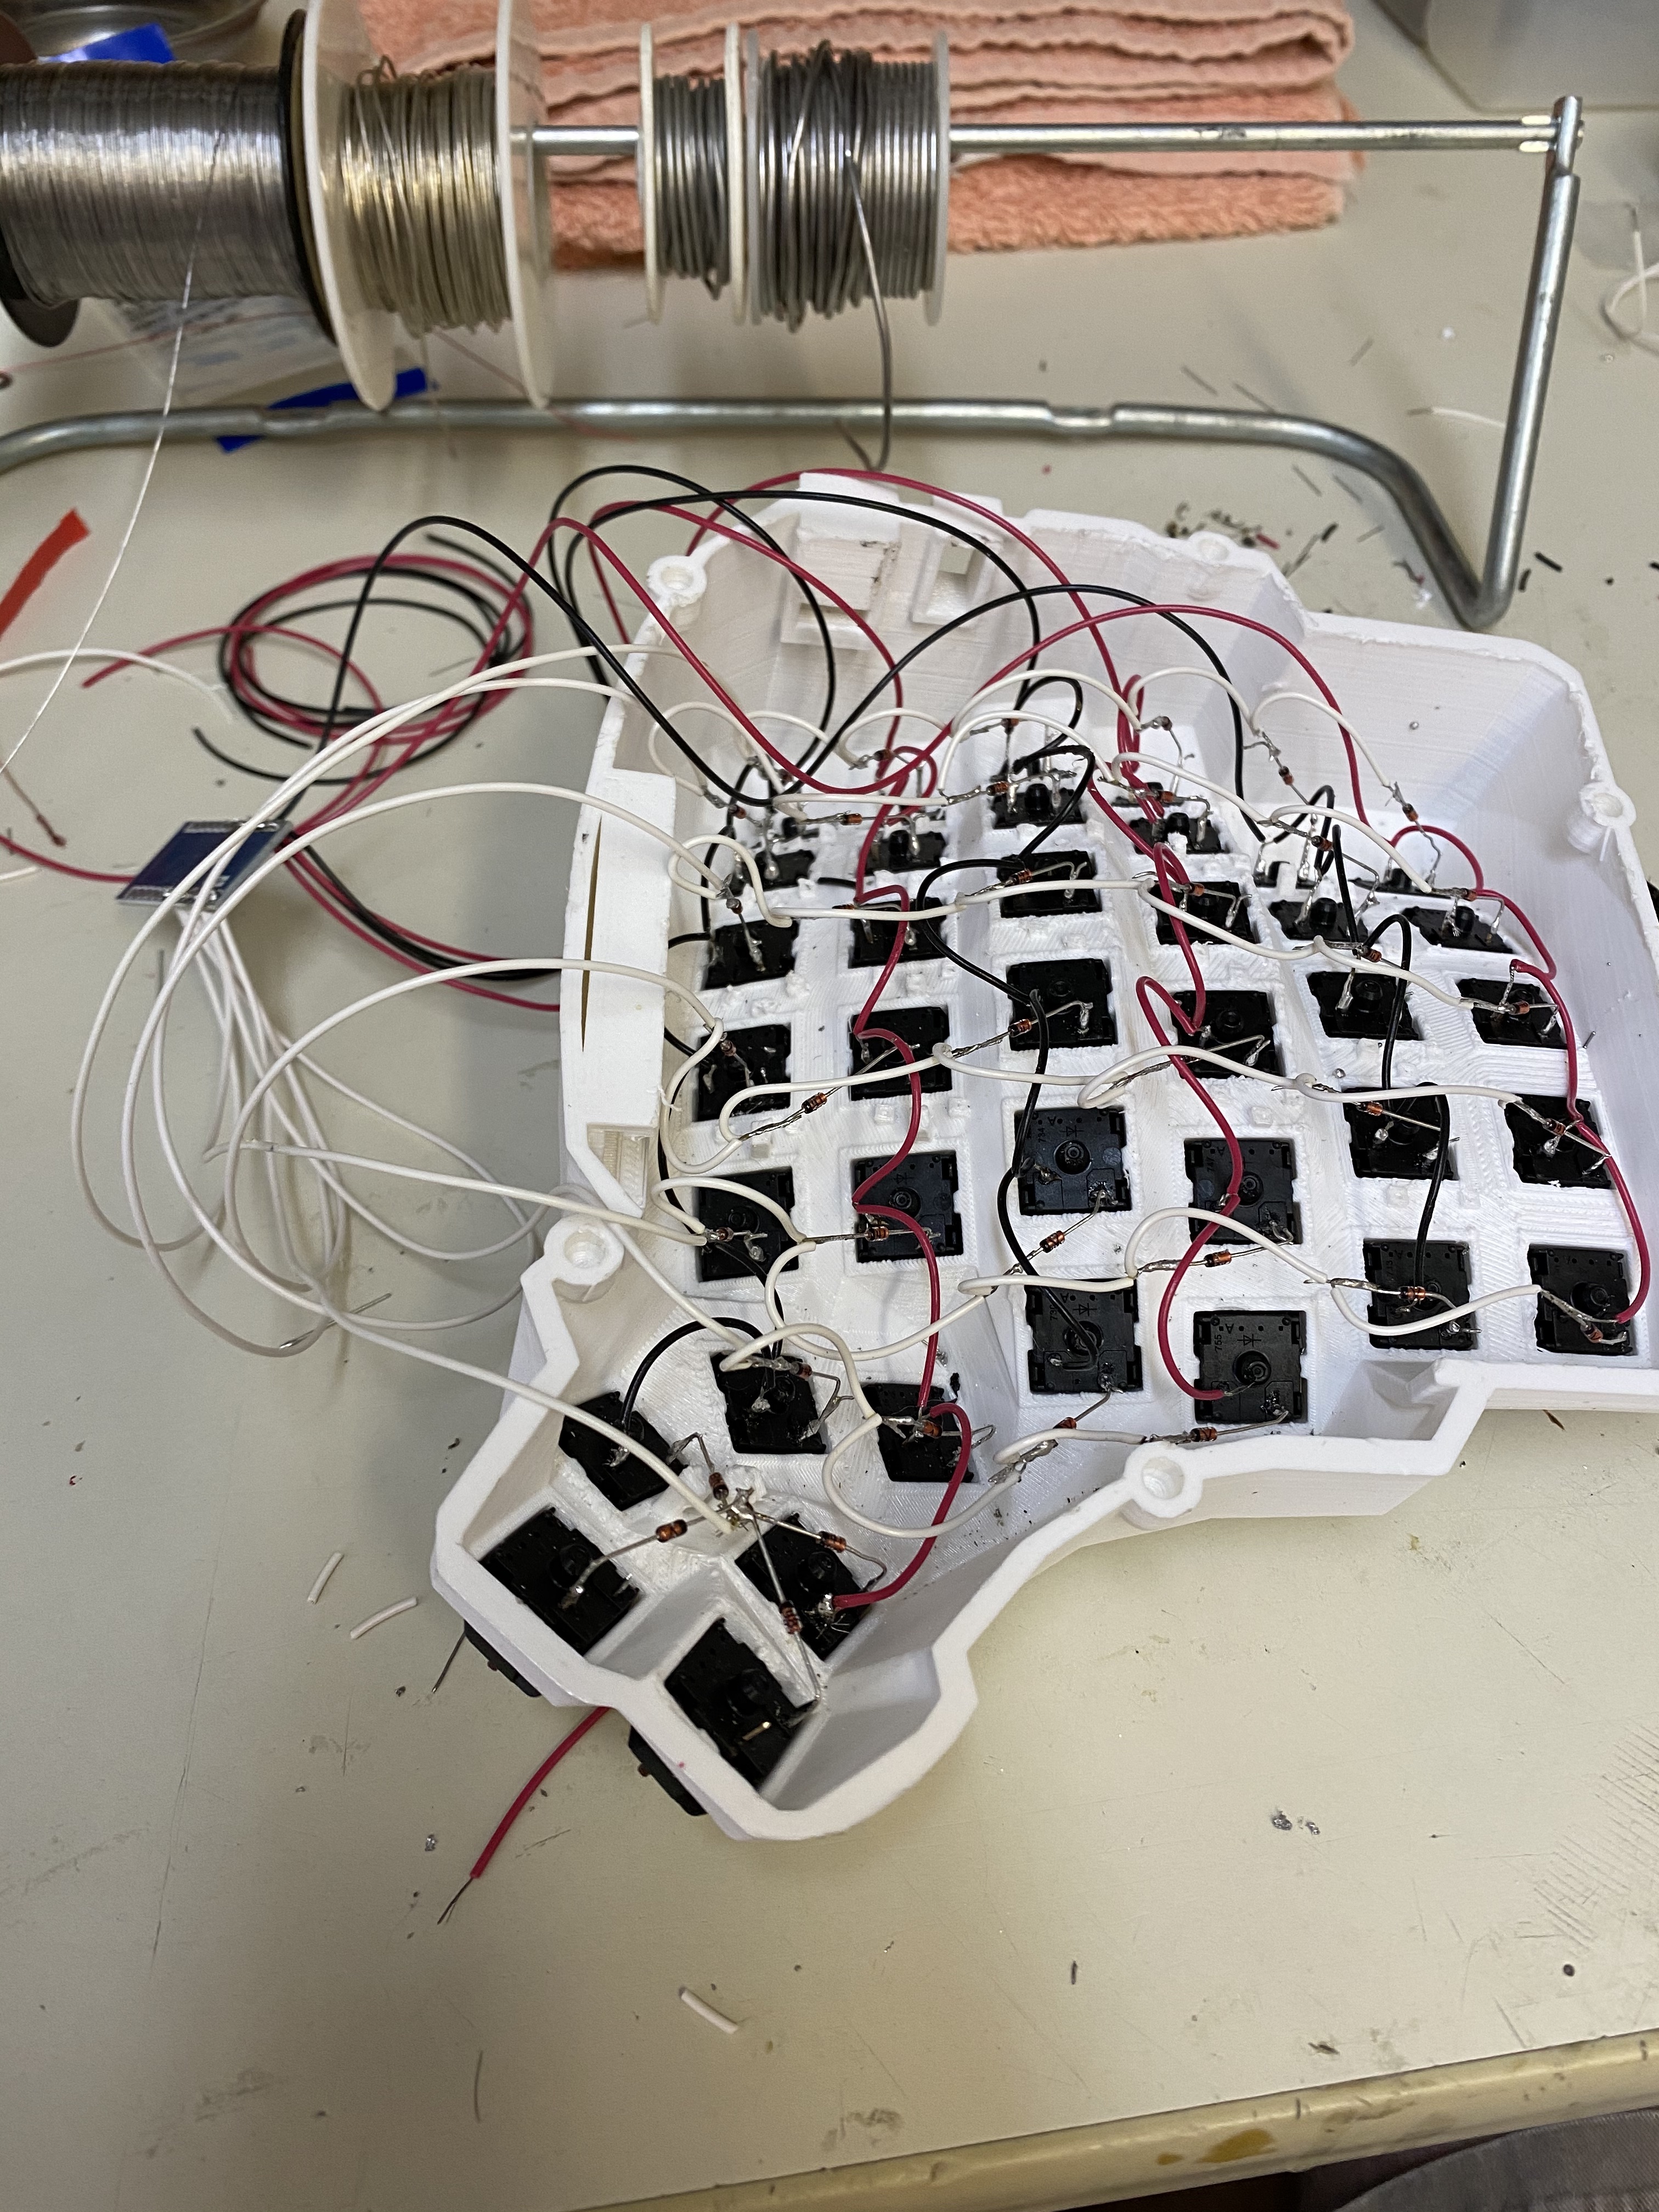
Wiring was a pain, but not impossible. I used the Arduino Pro Micro suggested by the Dactyl Manuform’s creator. Why? Because they were substantially cheaper than the Teensy boards used on the original Dactyl. I purchased cheap clones from Amazon and had no issues even though I read that some customers were sent duds. The issue with the units is that there is no reset button on the board like on real Arduinos. After all, the Pro Micro is some weird offshoot that is compliant with the Arduino specification and carries the name but is not actually from Arduino. You will need to wire a reset button in order to flash to the board. The board will not be detected by the computer unless the reset process is engaged. It’s not impossible to flash these little boards, but it is a pain.
One more important detail: do not use the RJ9 connector described in the build. It’s incredibly difficult to get a properly soldered connection on the connector because the pins are so small. It is much easier to solder to a typical TRS cable used on the Dactyl.
How do I like it?
I don’t! Honestly, I can’t help but feel like it was a waste of time and money. Unfortunately, it is wildly difficult to get used to. I know part of my distaste is my key mapping, and I plan to fiddle with it some more, but I’m still not sold. Luckily, it was a fun project, and that’s what matters! Further, it was only about $160 in total (even after I moved from RJ9 to TRS connectors), and that’s way more affordable than that ErgoDox EZ.